The Video Analysis feature helps you review and annotate video recordings. You can closely examine participant behavior and interactions with the support of AI-generated summaries and transcripts. Within a single interface, you can annotate videos and capture key moments to extract actionable insights as you review each user session.
Once a study is live and includes video recordings, you can begin analyzing sessions using the Video Analysis tab. This feature allows you to pull in videos from multiple studies so that you can analyze sessions across different projects, whether you're comparing A/B test variations or conducting a longitudinal study with multiple iterations.
Step-by-Step Guide on Video Analysis setup
Below is a step-by-step guide to setting up your video analysis project:
Step 1. Open the Video Analysis tab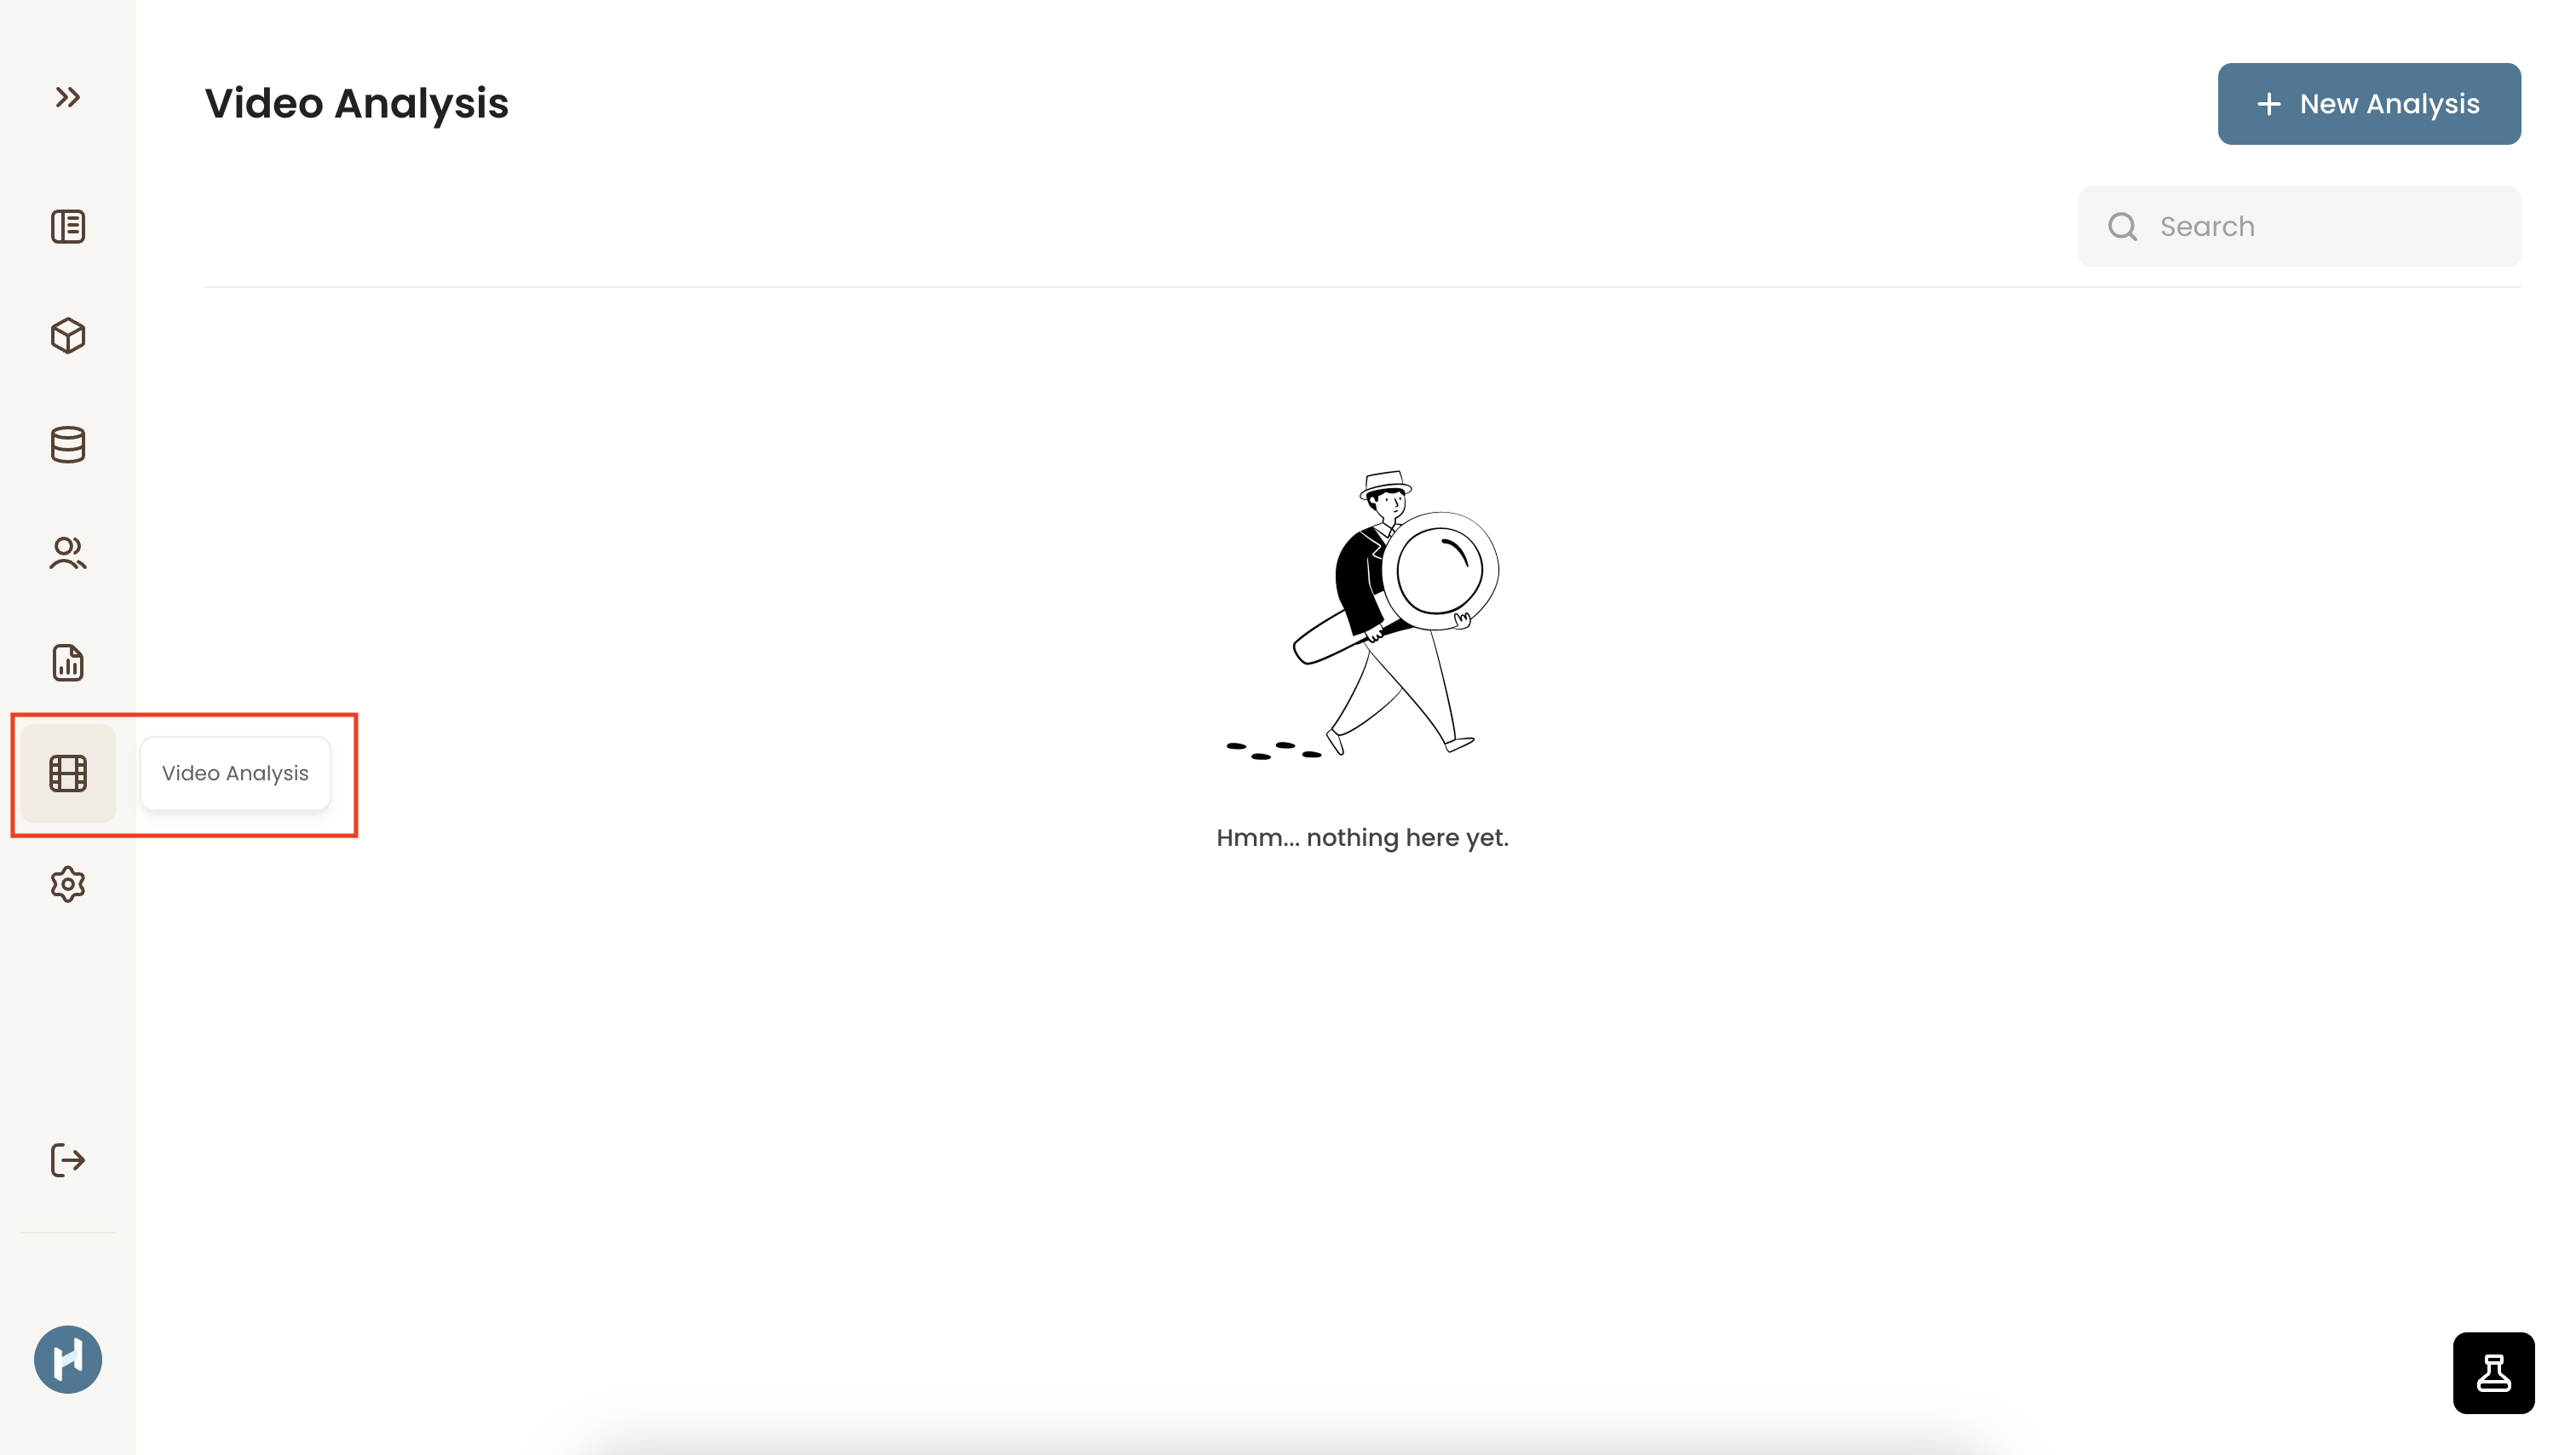
Step 2. Create a new analysis project with + New Analysis
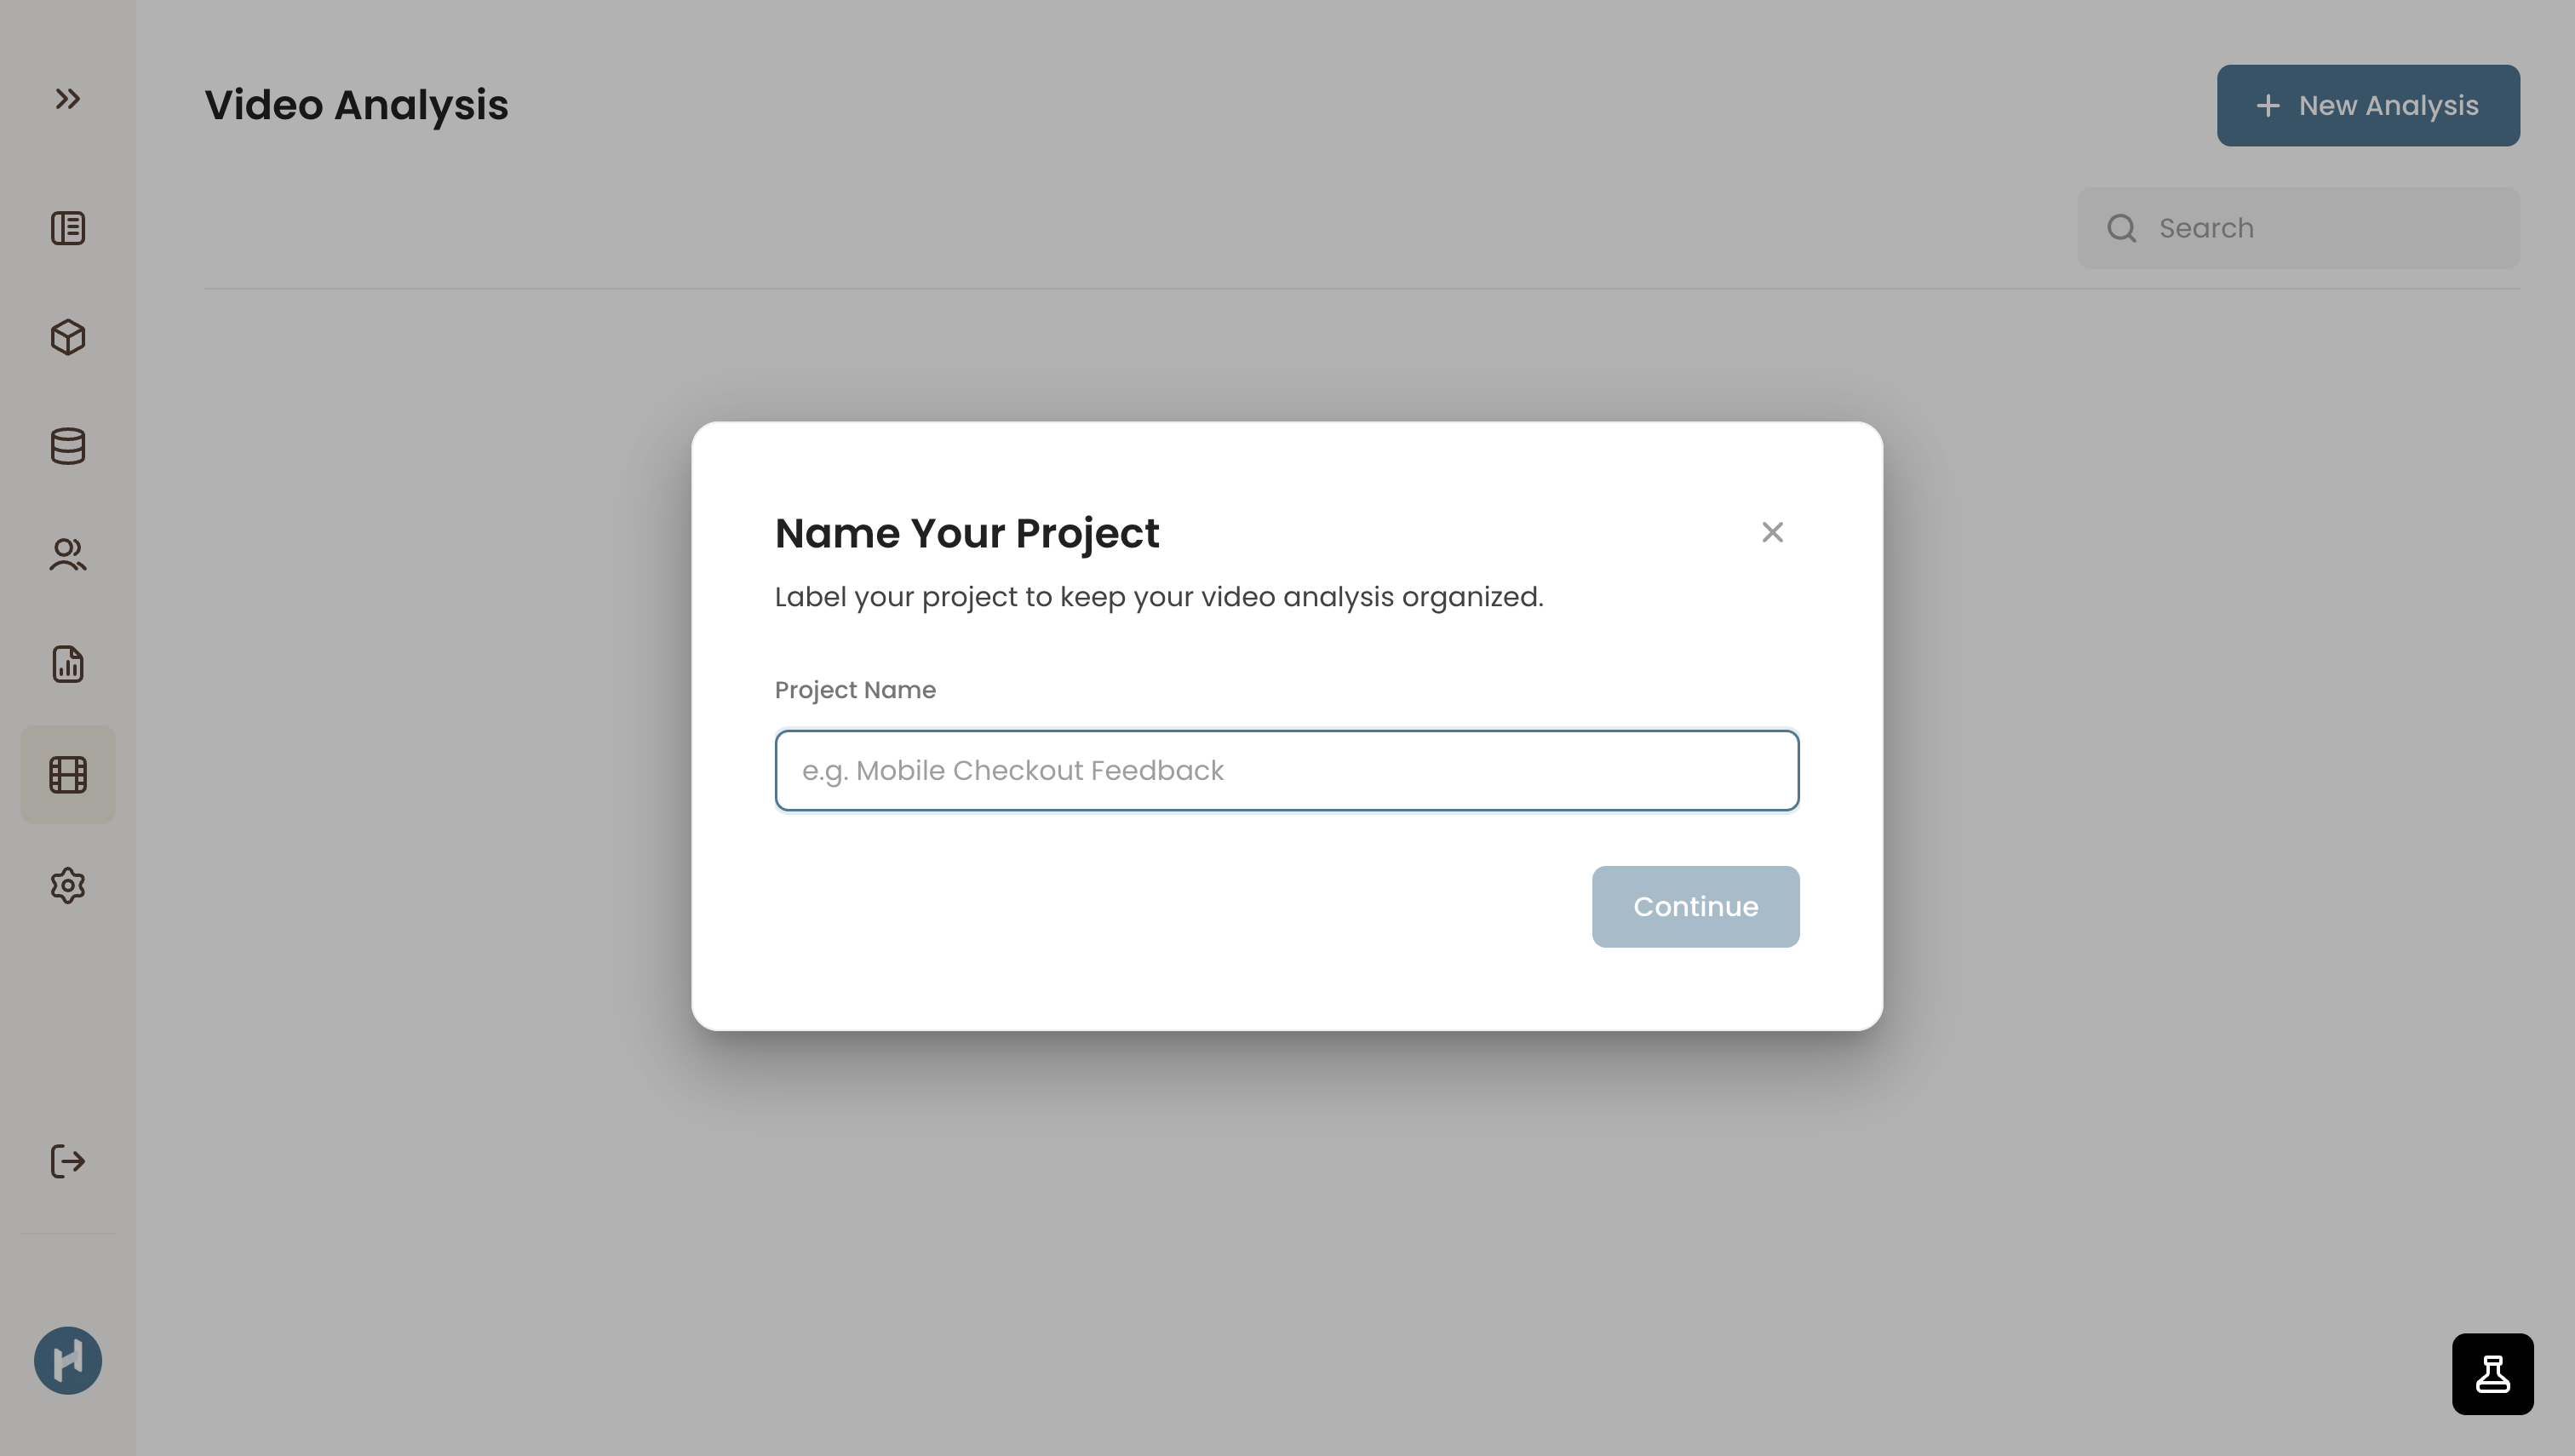
Step 3. Choose session recordings from unmoderated studies
Choose videos from one or more studies to include in your project. This flexibility allows you to compile sessions from multiple research initiatives, helping your analysis align with broader business or research goals rather than limiting insights to a single study.
- Depending on how the study recording option was set, you will have the option to import videos by full-session recordings or at task-specific level.
- You can also upload your own videos from your local storage or previous research.
Step 4. Review your videos
You can add or remove videos, rename the recordings for easier referencing, and click on videos to begin annotation. This Videos tab serves as your repository to handle and manage videos.
Next: Review recordings and make annotations